
The objective of this tutorial is to set up a Raspberry PI 3 from scratch.
- Prerequisites
- Installation
- Retrieve Raspberry PI 3
- Connect via SSH
- Set a static IP Address
- Enable Wifi
Prerequisites
- Components < 60 EUR:
| Component | Site | Price |
|---|---|---|
| Raspberry PI 3 | Farnell | 37.69 EUR |
| Power supply Micro USB 5V 2500mA | Amazon | 8.99 EUR |
| Micro SD Card (16 Go class 10) | Amazon | 9.99 EUR |
| Total: | 56.67 EUR |
Note: This is an example as a guide. You can buy all components in others sites and maybe with better prices.
Installation
- Download the latest version of Raspbian image
- Write image into the SD Card
Follow this guide according to your OS or follow this tutorial. Here my commands on my Mac.
a. Retrieve the SD card mount point
diskutil list
Output:
/dev/disk0 (internal, physical):
   #:                       TYPE NAME                    SIZE       IDENTIFIER
   0:      GUID_partition_scheme                        *500.1 GB   disk0
   1:                        EFI EFI                     209.7 MB   disk0s1
   2:                  Apple_HFS Macintosh HD            499.2 GB   disk0s2
   3:                 Apple_Boot Recovery HD             650.0 MB   disk0s3

/dev/disk2 (external, physical):
   #:                       TYPE NAME                    SIZE       IDENTIFIER
   0:     FDisk_partition_scheme                        *15.9 GB    disk2
   1:             Windows_FAT_32 NO NAME                 15.9 GB    disk2s1
Note: We can see the SD Card is mounted on “dev/disk2 (external, physical)”
b. Format the SD Card
sudo diskutil eraseDisk FAT32 RASPBIAN MBRFormat /dev/disk2
Template:
diskutil eraseDisk {filesystem} {Name} MBRFormat /dev/{disk identifier}
Output:
Password:
Started erase on disk2
Unmounting disk
Creating the partition map
Waiting for partitions to activate
Formatting disk2s1 as MS-DOS (FAT32) with name RASPBIAN
512 bytes per physical sector
/dev/rdisk2s1: 31085888 sectors in 1942868 FAT32 clusters (8192 bytes/cluster)
bps=512 spc=16 res=32 nft=2 mid=0xf8 spt=32 hds=255 hid=2 drv=0x80 bsec=31116286 bspf=15179 rdcl=2 infs=1 bkbs=6
Mounting disk
Finished erase on disk2
c. Unmount the SD Card
diskutil unmountDisk /dev/disk2
Output:
Unmount of all volumes on disk2 was successful
d. Write image into the SD Card
sudo dd bs=1m if=/Users/Lucci/Downloads/2017-03-02-raspbian-jessie.img of=/dev/disk2
template:
sudo dd bs=1m if={raspbian image path} of=/dev/{disk identifier}
Output:
4190+0 records in
4190+0 records out
4393533440 bytes transferred in 437.696112 secs (10037863 bytes/sec)
e. Enable SSH
In order to enable SSH, all you need to do is to put a file called ssh in the /boot/ directory.
cd /Volumes/boot
touch ssh
See more here
f. Eject the SD Card
cd ..
diskutil eject /dev/disk2
Output:
Disk /dev/disk2 ejected
Now, the SD Card is ready to use.
g. Plug an ethernet cable and swicth on the power supply.
See more here
Now your Raspberry PI is ready!!! But how can I retrieve it in my LAN ?
Note: If you use a screen monitor, keyboard and mouse with your Raspberry, you can skip this part and go to “Set a static IP Address” section.
See more here
Retrieve Raspberry PI 3
1) unplug the ethernet cable and run the nmap command
Follow this tutorial Example:
nmap -sn 192.168.0.0/24
Output
tarting Nmap 7.12 ( https://nmap.org ) at 2017-04-07 13:24 CEST
Nmap scan report for 192.168.0.10
Host is up (0.016s latency).
Nmap scan report for 192.168.0.12
Host is up (0.019s latency).
Nmap scan report for 192.168.0.14
Host is up (0.0040s latency).
Nmap scan report for 192.168.0.18
Host is up (0.0017s latency).
Nmap scan report for 192.168.0.20
Host is up (0.077s latency).
Nmap scan report for 192.168.0.254
Host is up (0.0075s latency).
Nmap done: 256 IP addresses (7 hosts up) scanned in 3.04 seconds
2) plug the ethernet cable et re-run the nmap command Example:
nmap -sn 192.168.0.0/24
Output
tarting Nmap 7.12 ( https://nmap.org ) at 2017-04-07 13:24 CEST
Nmap scan report for 192.168.0.10
Host is up (0.016s latency).
Nmap scan report for 192.168.0.12
Host is up (0.019s latency).
Nmap scan report for 192.168.0.14
Host is up (0.0040s latency).
Nmap scan report for 192.168.0.18
Host is up (0.0025s latency).
Nmap scan report for 192.168.0.19
Host is up (0.0017s latency).
Nmap scan report for 192.168.0.20
Host is up (0.077s latency).
Nmap scan report for 192.168.0.254
Host is up (0.0075s latency).
Nmap done: 256 IP addresses (7 hosts up) scanned in 3.04 seconds
As we can see, a new IP address 192.168.0.19 was scanned. It’s your Raspberry PI.
Host is up (0.0025s latency).
Nmap scan report for 192.168.0.19
Connect via SSH
ssh pi@192.168.0.19
if you want to use X11
ssh -Y pi@192.168.0.119
Note:
Default username: pi
Default password: raspberry
Note: first of all change your password with command
passwd
output
Changing password for pi.
(current) UNIX password:
Enter new UNIX password:
Retype new UNIX password:
passwd: password updated successfully
See this post in order to perform Raspbian basic administration here
Update the Rasbpian
sudo apt-get update && sudo apt-get upgrade
Set a static IP Address
sudo apt-get install vim
sudo vim /etc/network/interfaces
systemctl (start|stop) vncserver-x11-serviced.service

# interfaces(5) file used by ifup(8) and ifdown(8)

# Please note that this file is written to be used with dhcpcd
# For static IP, consult /etc/dhcpcd.conf and 'man dhcpcd.conf'

# Include files from /etc/network/interfaces.d:
source-directory /etc/network/interfaces.d

auto lo
iface lo inet loopback

auto eth0
iface eth0 inet static
    address 192.168.0.13
    netmask 255.255.255.0
    gateway 192.168.0.254
or Set Permanent DHCP IP on your router

For me it’s a best practise.
Enable WIFI
a. Edit
sudo vim /etc/wpa_supplicant/wpa_supplicant.conf
b. Adapt according to your security protocol
See specification wpa_supplicant.conf
Generate key
sudo wpa_passphrase "testing" "testingPassword" >> /etc/wpa_supplicant/wpa_supplicant.conf
Note don’t forget to remove the comment with your clear password
   ctrl_interface=DIR=/var/run/wpa_supplicant GROUP=netdev
   update_config=1
   country=FR
   network={
           ssid="freebox_lucci1"
           psk=22889c61e999b046d86190ca2dc9a9a82c80027f8f28a6372d760a8320a91858
   }
c. Edit
sudo vim /etc/network/interfaces
e. Set static IP and wpa-conf to wlan0
auto wlan0
iface wlan0 inet static
    address 192.168.0.13
    netmask 255.255.255.0
    gateway 192.168.0.254
    wpa-conf /etc/wpa_supplicant/wpa_supplicant.conf
Final config
# interfaces(5) file used by ifup(8) and ifdown(8)

# Please note that this file is written to be used with dhcpcd
# For static IP, consult /etc/dhcpcd.conf and 'man dhcpcd.conf'

# Include files from /etc/network/interfaces.d:
source-directory /etc/network/interfaces.d

# The loopback network interface
auto lo
iface lo inet loopback

# Ethernet
iface eth0 inet dhcp

# Wi-Fi
allow-hotplug wlan0
iface wlan0 inet static
        address 192.168.0.13
        netmask 255.255.255.0
        gateway 192.168.0.254
        wpa-conf /etc/wpa_supplicant/wpa_supplicant.conf
f. Check config
iw dev
phy#0
	Interface wlan0
		ifindex 3
		wdev 0x1
		addr b8:27:eb:62:22:ca
		ssid YOUR_NETWORK_SSID
		type managed
g. Connection
ip link show wlan0
As we can see wlan0 is currently DOWN
3: wlan0: <BROADCAST,MULTICAST,UP,LOWER_UP> mtu 1500 qdisc pfifo_fast state DOWN mode DORMANT group default qlen 1000
     link/ether b8:27:eb:62:22:ca brd ff:ff:ff:ff:ff:ff
Start UP the interface
sudo ip link set wlan0 up
Check
ip link show wlan0
 3: wlan0: <BROADCAST,MULTICAST,UP,LOWER_UP> mtu 1500 qdisc pfifo_fast state UP mode DORMANT group default qlen 1000
      link/ether b8:27:eb:62:22:ca brd ff:ff:ff:ff:ff:ff
h. Wait for network
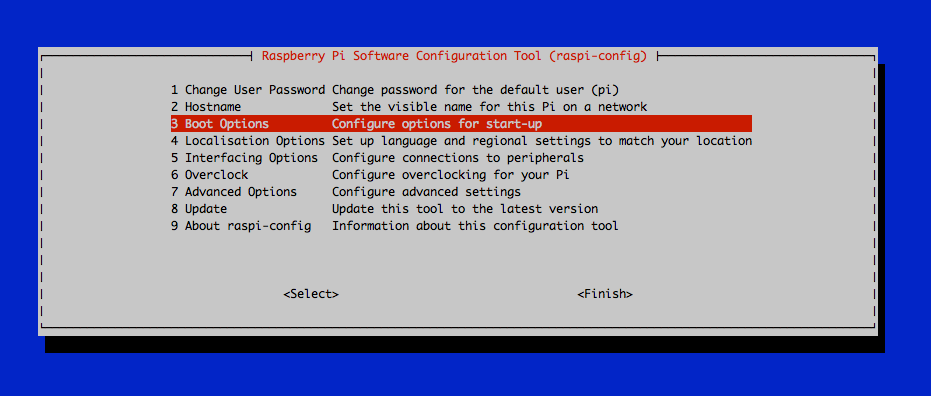
sudo raspi-config
h. Reboot
You can now unplug your ethernet wire and reboot
sudo reboot
Great !! now you can access to your Raspberry PI anywhere on your LAN with static IP address over Wifi or Ethernet.
Note: if you want to access to your Raspberry outside your LAN. You must forward port on your router.
Useful links: